When it comes to keeping your home or business comfortable, your HVAC system plays a crucial role. Unfortunately, like any mechanical system, HVAC units can experience problems over time. While some issues require the expertise of a professional, many common HVAC problems can be solved with a little troubleshooting. In this blog post, we’ll walk you through the best HVAC troubleshooting tips to keep your system running smoothly and efficiently. From weak airflow to thermostat malfunctions, we’ve got you covered with helpful advice on how to troubleshoot your AC unit, HVAC issues, and more.
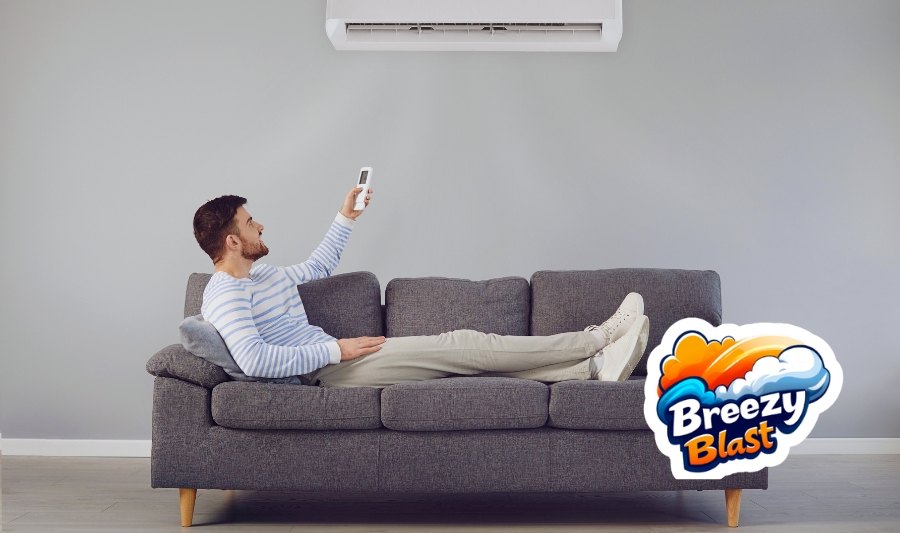
1. Check Your Thermostat Settings
One of the most common HVAC issues is a thermostat malfunction. If your system isn’t cooling or heating effectively, the problem could be as simple as incorrect thermostat settings. Here’s what you should check:
- Set the temperature correctly: Make sure the thermostat is set to the desired temperature. Sometimes, it’s easy to overlook this simple adjustment.
- Check the mode: Ensure the thermostat is set to the correct mode (cooling or heating) depending on the season.
- Replace the batteries: If your thermostat is battery-powered, weak batteries can cause erratic behavior or complete failure. Replace the batteries as needed.
If these steps don’t resolve the issue, your thermostat may need recalibration or replacement, which is when calling a professional for HVAC troubleshooting can be helpful.
2. Inspect the Air Filter
Clogged or dirty air filters are a common culprit for HVAC issues. A clogged filter restricts airflow, making your system work harder and reducing its efficiency. Here’s how you can check and clean your air filter:
- Turn off the system: Always switch off the power to your HVAC system before attempting any maintenance.
- Locate the filter: Find the air filter, usually located near the return air duct or the air handler.
- Inspect the filter: If the filter looks dirty or clogged, it’s time to replace it. A clean filter promotes better airflow and system performance.
- Regular maintenance: We recommend checking your air filter every month, especially during high-use seasons like summer and winter, and replacing it every 3 months or so.
Regularly replacing your air filter is one of the easiest ways to prevent HVAC issues and keep your system running smoothly.
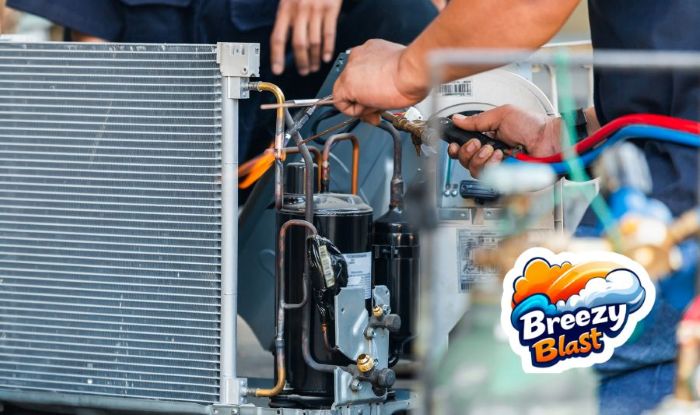
3. Clean the Condenser Coils
The condenser coils on your outdoor unit are responsible for releasing heat from your home. Over time, they can accumulate dirt and debris, which restricts airflow and reduces the system’s cooling efficiency. Here’s how to clean the coils:
- Turn off the power: Always make sure the power to the HVAC system is turned off before cleaning.
- Clear debris: Remove any debris, leaves, or dirt around the unit.
- Clean the coils: Use a soft brush or a coil cleaning solution to gently clean the coils. Be sure not to damage the coils during cleaning.
- Check for ice buildup: If you notice ice on the coils, this could indicate a refrigerant leak or poor airflow, which requires professional attention.
Cleaning the condenser coils is an essential step in air conditioning troubleshooting and can help restore efficiency to your system.
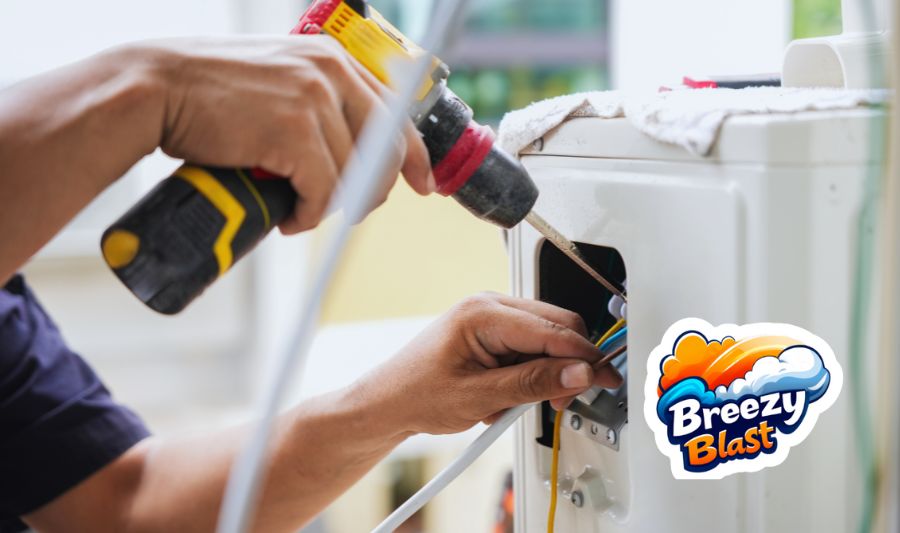
4. Verify the Power Supply
One of the most straightforward HVAC troubleshooting tips is to ensure that your system has power. If your HVAC unit isn’t turning on, it could be due to a power supply issue. Here’s what to check:
- Check the circuit breaker: Sometimes, the circuit breaker that powers your HVAC system may trip. If this happens, simply flip the breaker back on and see if the system starts up.
- Check the fuse: A blown fuse in the unit’s disconnect box could prevent the system from turning on. If this is the case, you may need to replace the fuse.
- Inspect the power switch: Make sure the power switch located near the air handler or furnace is turned on.
If the power supply is fine, but your system still isn’t working, there may be a more complex electrical issue at play, in which case, it’s best to call a professional HVAC technician.
5. Inspect the Ductwork for Leaks
Leaky or poorly sealed ducts can cause HVAC issues such as weak airflow and uneven heating or cooling. If you notice that certain rooms are colder or hotter than others, ductwork leaks could be to blame. Here’s how to inspect your ducts:
- Visual inspection: Look for visible signs of damage to your ducts, such as holes or loose connections.
- Feel for air: Turn on your system and run your hand along the ducts. If you feel air escaping, it’s a sign of a leak.
- Seal leaks: If you find any leaks, seal them with mastic sealant or specialized duct tape designed for HVAC systems.
Repairing ductwork leaks is an essential step to restoring your HVAC system’s efficiency and ensuring even temperature distribution throughout your home or business.
6. Clean the Evaporator Coil
The evaporator coil absorbs heat from the air inside your home and plays a vital role in cooling your space. If it becomes dirty or clogged with dust, it can cause poor airflow and ice buildup. To clean the evaporator coil:
- Turn off the power: Always switch off the HVAC system before cleaning.
- Access the coil: Depending on your system, you may need to remove a panel to access the evaporator coil.
- Clean the coil: Use a soft brush or coil cleaner to remove dirt and debris from the coil.
- Check the drain pan: Ensure the drain pan is free from dirt and that the condensate drain is not clogged.
Cleaning the evaporator coil is one of the most effective air conditioning troubleshooting tips to maintain efficient cooling.
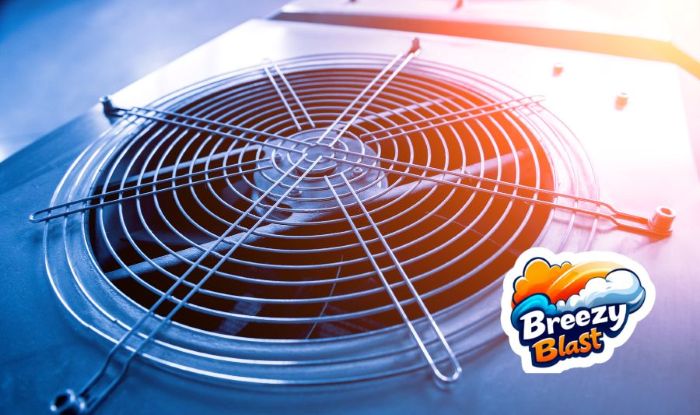
7. Address Weak Airflow
Weak airflow is a common issue that can be caused by several factors, such as clogged filters, ductwork problems, or a malfunctioning blower fan. Here’s how to troubleshoot weak airflow:
- Replace the filter: As mentioned earlier, a clogged filter can significantly reduce airflow.
- Check the blower fan: A malfunctioning fan can result in weak airflow. If the fan is dirty or broken, it may need professional repair.
- Inspect the ducts: Leaks or blockages in the ductwork can hinder airflow and cause inconsistent temperatures in your home or business.
By addressing weak airflow early on, you can prevent more severe HVAC issues down the road.
8. When to Call a Professional for HVAC Troubleshooting
While the above HVAC troubleshooting tips can help resolve many common issues, there are times when professional help is necessary. Here are some signs that it’s time to call a technician:
- Persistent problems: If troubleshooting doesn’t solve the issue or the problem keeps recurring, a professional technician should inspect your system.
- Refrigerant issues: If you suspect a refrigerant leak or low refrigerant levels, this requires specialized equipment and expertise to repair.
- Electrical issues: Electrical problems, such as faulty wiring or a malfunctioning compressor, should only be handled by a qualified technician to prevent safety hazards.
At Breezy Blast, we offer thorough HVAC services, including repairs and installations, to ensure your system operates efficiently year-round. Our team of EPA-certified technicians can handle any issue, big or small, with honesty and integrity. Call us today at (702) 410-7712 for reliable HVAC troubleshooting and service.
Conclusion
Keeping your HVAC system running smoothly requires regular maintenance and timely troubleshooting. By following the tips outlined in this blog post, you can address many common HVAC issues yourself, such as weak airflow, thermostat malfunctions, and clogged filters. However, if you encounter more complex problems, don’t hesitate to call in the professionals at Breezy Blast, LLC. With over 10 years of experience in the industry and a commitment to honest, high-quality service, we’re here to help ensure your HVAC system runs smoothly all year long.